I have had the hydroponics project hanging over my head for too long now, but I ended up moving from my Beverly Hills apartment in Jamaica to a New Kingston "centrally located" apartment. This meant that I no longer had the space to setup the system. FAIL 1.
The next couple months after moving I resigned from the startup company I had been working with for the past year. I decided the time was right to carry on with some ideas I had and bring them to fruition - so I started a company in Jamaica and I have been working with a great team of guys in California on producing some great devices and software.
But we (a business partner and I) needed something to relax our minds for at least for a hour everyday. After going to maker faire 2014 in San Mateo and seeing some pretty cool hobby projects we decided to revive a bit of the stuff I had been doing in Jamaica with the hydroponic system.
| One of the projects at the San Mateo Maker Faire 2014 |
The concept is really simple... so being software engineers we did one thing right. Requirements!
We had a huge space on a wall that we wanted to fill with plants and make it aesthetically pleasing but functional. We had been eating healthier (greens and fruits) and this was impacting our food budget (eating healthy is expensive). Being from the Caribbean I love flavourful food so we wanted to grow herbs and spices. Also, this entire thing has to be able to be moved and broken down for maintenance to the building.
The wall we had spanned 6ft across and over 10 ft high, but because we wanted easy access to the plants we decided the dimensions should be at most 5 ft wide by 8 ft high. The pump should be energy efficient and protection must be in place to prevent the pump from burning up by sucking on air instead of water.
These are the parts we ordered online:
 |
 |
 |
 |
 |
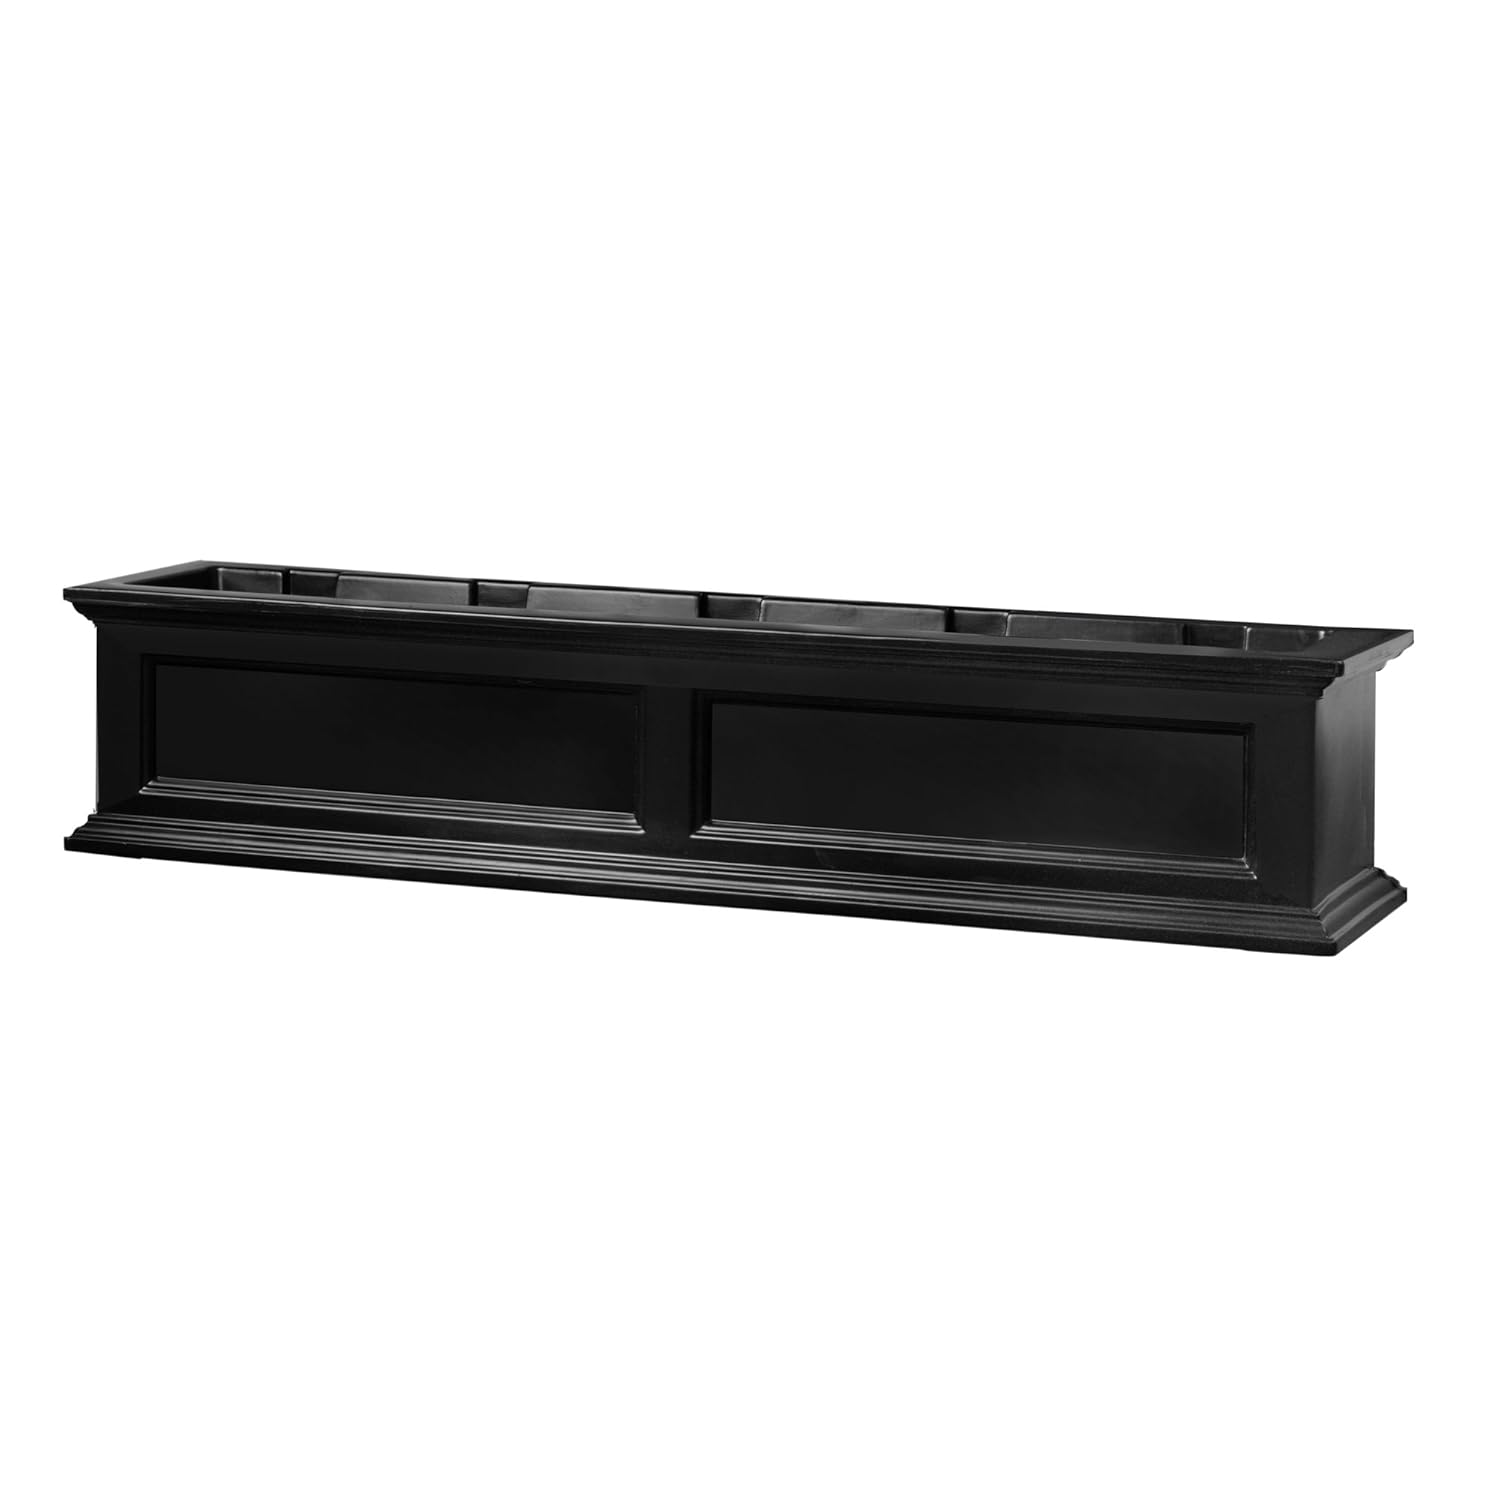 |
- A good looking flower planter with the right dimensions - amazon
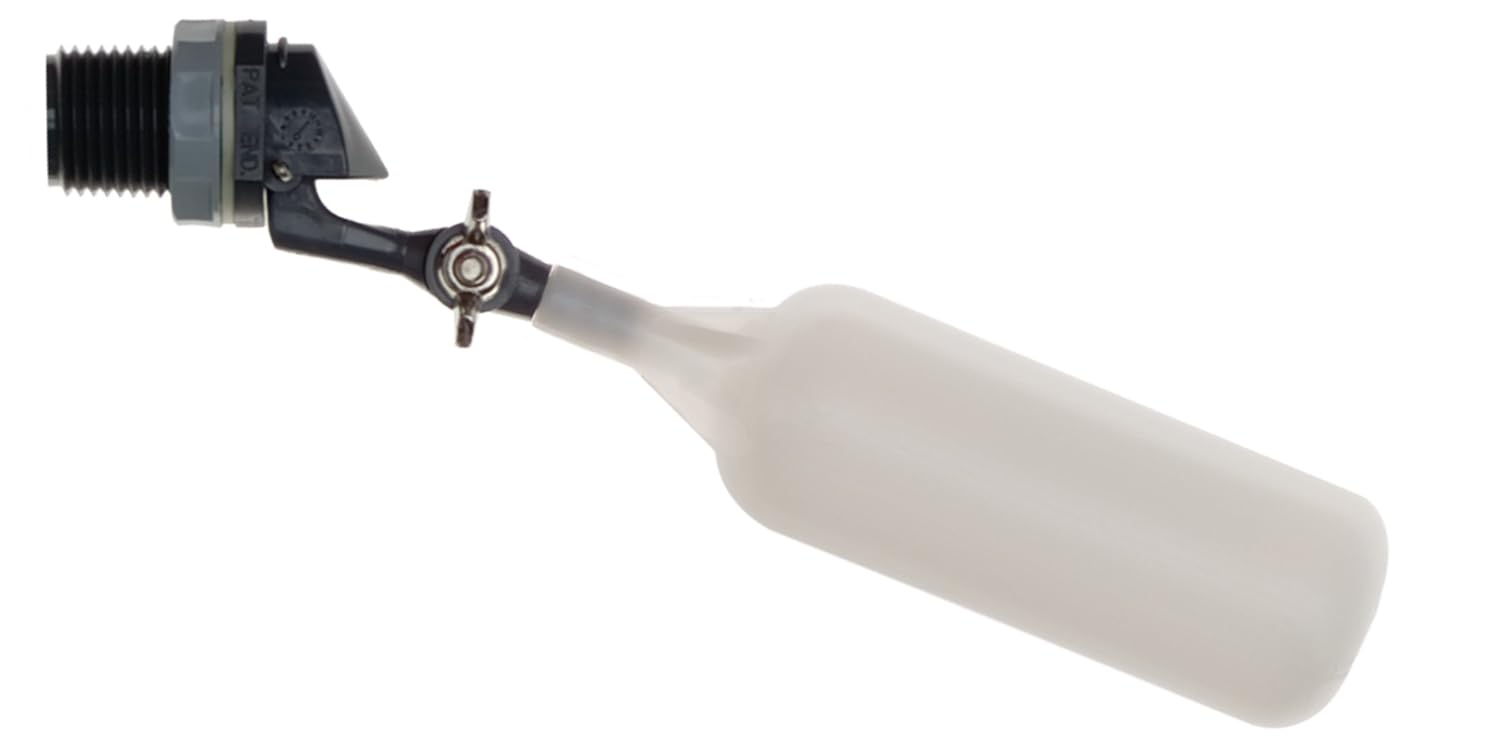
- An adjustable float valve (like the ones used in the toilet tank) - amazon
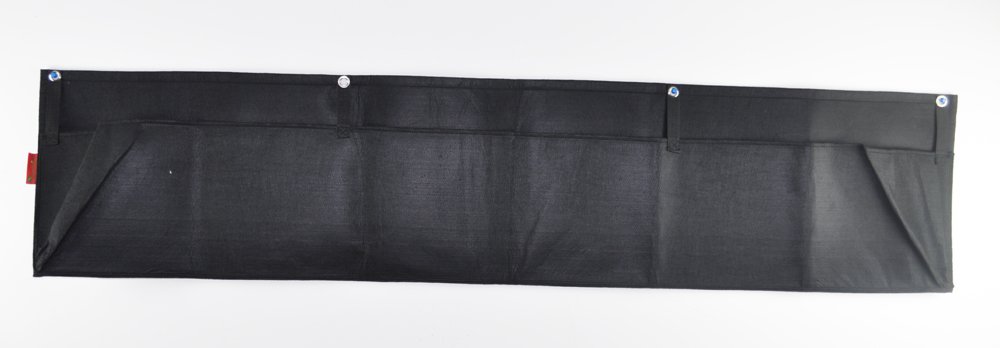
- We wanted some giant planter pockets (we bought 7) - amazon
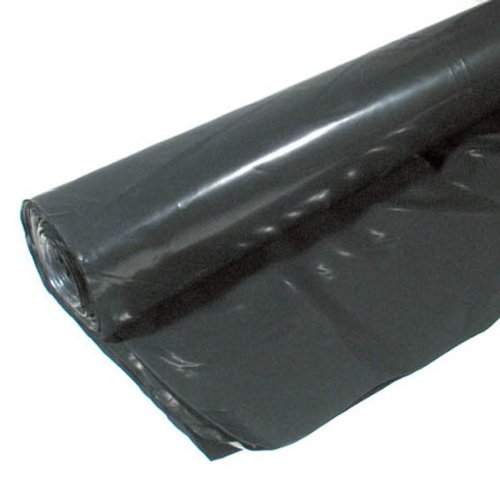
- Plastic sheeting (also the pockets lacked the water proof backing) - amazon
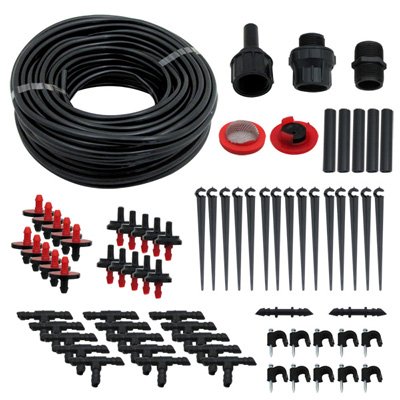
- Irrigation tubing set (we bought 2) - amazon
We also visited Home Depot and Ace Hardware stores over 10 times for this project because we really are software guys and construction is new to us.
A couple of things to note:
The planter box is used in our setup as a "nice looking nutrient reservoir". But the reality is that it has a hole at the base that allows for drainage of water in the soil. This isn't good for our setup as it is necessary to hold the water (and nutrients) for recirculation by a submersible pump.
The float valve is intended to be used to prevent the water level from falling below the water inlet of the submersible pump. To do this we mounted the valve to the side of the planter box and connected a garden hose to it. However the thickness of the planter box is greater than the thickness it was intended for. FAIL 2.
To recover we headed down to the Ace Hardware store and bought a bar that extended the thickness and allowed us to pass through the wall of the box and connected the garden hose. We bought a waterproof sealant for connecting the valve to the wall of the planter box and a rubber cork for filling the hole at the bottom of the planter box (then bonded the rubber cork to the planter box using plastic epoxy).
 |
| My ugly bonding job with the plastic epoxy. Nobody is gonna see this it is the underside of the planter box |
Now the construction of the frame! NOTE: We aren't professionals!
 |
| 2" x 6" x 8' of the cheapest wood we could find :) |
The working dimensions for the space was 5' x 8'. However the planter box (external dimensions) was 5 ft exactly, so we were constrained by the internal width of the planter box (56 inches). The final dimensions of the frame was 4.333 ft x 8ft.
We did a 45 degree mitre cut for all the pieces of wood and joined the outer frame together with the following braces:
- 8 x corner braces
- 8 x mending plates
The inner beams were cut to provide more support for the structure and were joined using two mending plates and other brackets I am struggling to find online for reference.
After setting up the structure I nailed on a 4' x 8' ply on one side and draped the front with the plastic sheeting. In retrospect I think it might have been a better idea to drape the entire structure in the plastic sheeting to prevent water from rotting the wood. To hold the plastic sheeting on the frame I used a staple gun and did a second layer of plastic just as a precaution.
 |
| Notice the corner brace? I couldn't find it online. I went in and got them from Home Depot. These are different from the ones I listed. |
 |
| This isn't the final spot for it. Just a small preview. The frame will not be fully submerged in the reservoir. Inside we added a couple bricks that raised it above the water level. |
The next step is to mount the flower pockets to the giant frame. We used the staple gun, but we realized this wasn't sufficient to support the weight of flower, soil and water and we screwed in several screws with metal washers to secure the pockets in place.
 |
| We are getting close... |
Note: The pockets we purchased are bigger than the width of the frame, so we wrapped it on the underside and secured it to the frame. However, in wrapping it to the underside, we ensured we left a cavity to allow the passage of a garden hose from the base (where the pump is located) to the top of the system. Now the idea is that the top of the frame will be secured to the wall and the base will rest inside the reservoir creating a distance enough to fit the submersible pump for the unit.
 |
| The gap created by the leaning the frame on the wall. This allows for the pump to fit inside and also for the top planter pockets to drain into the pockets below creating a cascade effect. |
The irrigation unit is the next major setup. I bought a submersible pond pump that comes equipped with a netting to stop leaves and other major debris form being circulated inside the irrigation tubing. This pump is rated at 1200 gallons per hour at 0 ft. This changes when height is 8ft and according to my calculations it is reduced to about 600GPH. So be careful when purchasing pumps most of the ratings given doesn't account for the height of the water column that it is pushing against. Also we are moving a volume from a relatively high diameter nozzle from the pump (1.5inch) to irrigation hoses (0.25inch) there will be high resistance for the pump to work against. Because of this we decided to create a branch where we would be moving fluid into two irrigation channels reducing some of the resistance the pump will encounter. The pump is also a AC pump with a 1HP rating. This might not be the best pump to connect to a solar setup.
 |
| 1200GPH pond pump |
To create the branch in the system we bought a hose splitter similar to this. This allowed us to connect two separate irrigation hoses to control the watering of the plants.
 |
| The junction created to reduce the resistance encountered by the pump. It also connects to the drip system. |
 |
| Running the hose through the cavity created by the pockets. We didn't like the green hose, we changed it later to a black hose that didn't kink and stop the flow. |
 |
| Connecting the float valve assembling to the garden hose. I used a hole saw to punch a neat hole to fit the assembly in and sealed it with some water proof sealer. The brass fittings are quick release mechanism for fast detachments and easy maintenance. |
Ok, so be sure to stretch before the next couple of steps, because there will be lots of lifting here. I moved the frame into position for mounting and connected it all together for a test run. We encountered a gazillion leaks! FAIL 3. Now of course this will happen remember to get thread tape, sealants and silicone.
 |
| Be sure to get a hose that doesn't kink!!! It caused a lot of frustration. And green looks so out of place. |
So after all the battle we can stand back and admire the wall - ohhh nevermind we still have to fix it to the wall! Because we have the requirement to have it easily movable we didn't drill any holes to the wall. We used steel braided lines and connected it to the top of the wall. This might be challenging to you, but for us we had railings up above.
 |
| The final mounting points. And the new hose! |
So there you have it! Just needed a woman's touch so we called in my friend's wonderful girlfriend :)

Add a little demo.
You need to be a member of United Truth Seekers to add comments!
Join United Truth Seekers